
Create Your Custom Bounding Box Dataset by Using Mobile Annotation
If you are starting completely new with computer vision or you want to quickly prototype an object detector, you want to create your own custom dataset. The creation includes three steps:
- Collect images
- Annotate images
- Download annotations
To be lazy and convenient we are using the annotation tool ManthanoAI, which is available for IOS and Android.
- https://play.google.com/store/apps/details?id=www.app.manthano.ai&hl=en_US
- https://apps.apple.com/us/app/manthanoai/id1528473744
You can either upload your images from the phone or from the web interface (app.manthano.ai).
- I have decided to make an easy bonding box classifier for three classes
- Raspberry pi 3
- Camera
- Arduino Uno
Hence I have to take several images from these three objects.
I vary in background, angle, and position of the objects.
I take roughly 30 images of each class and upload them:
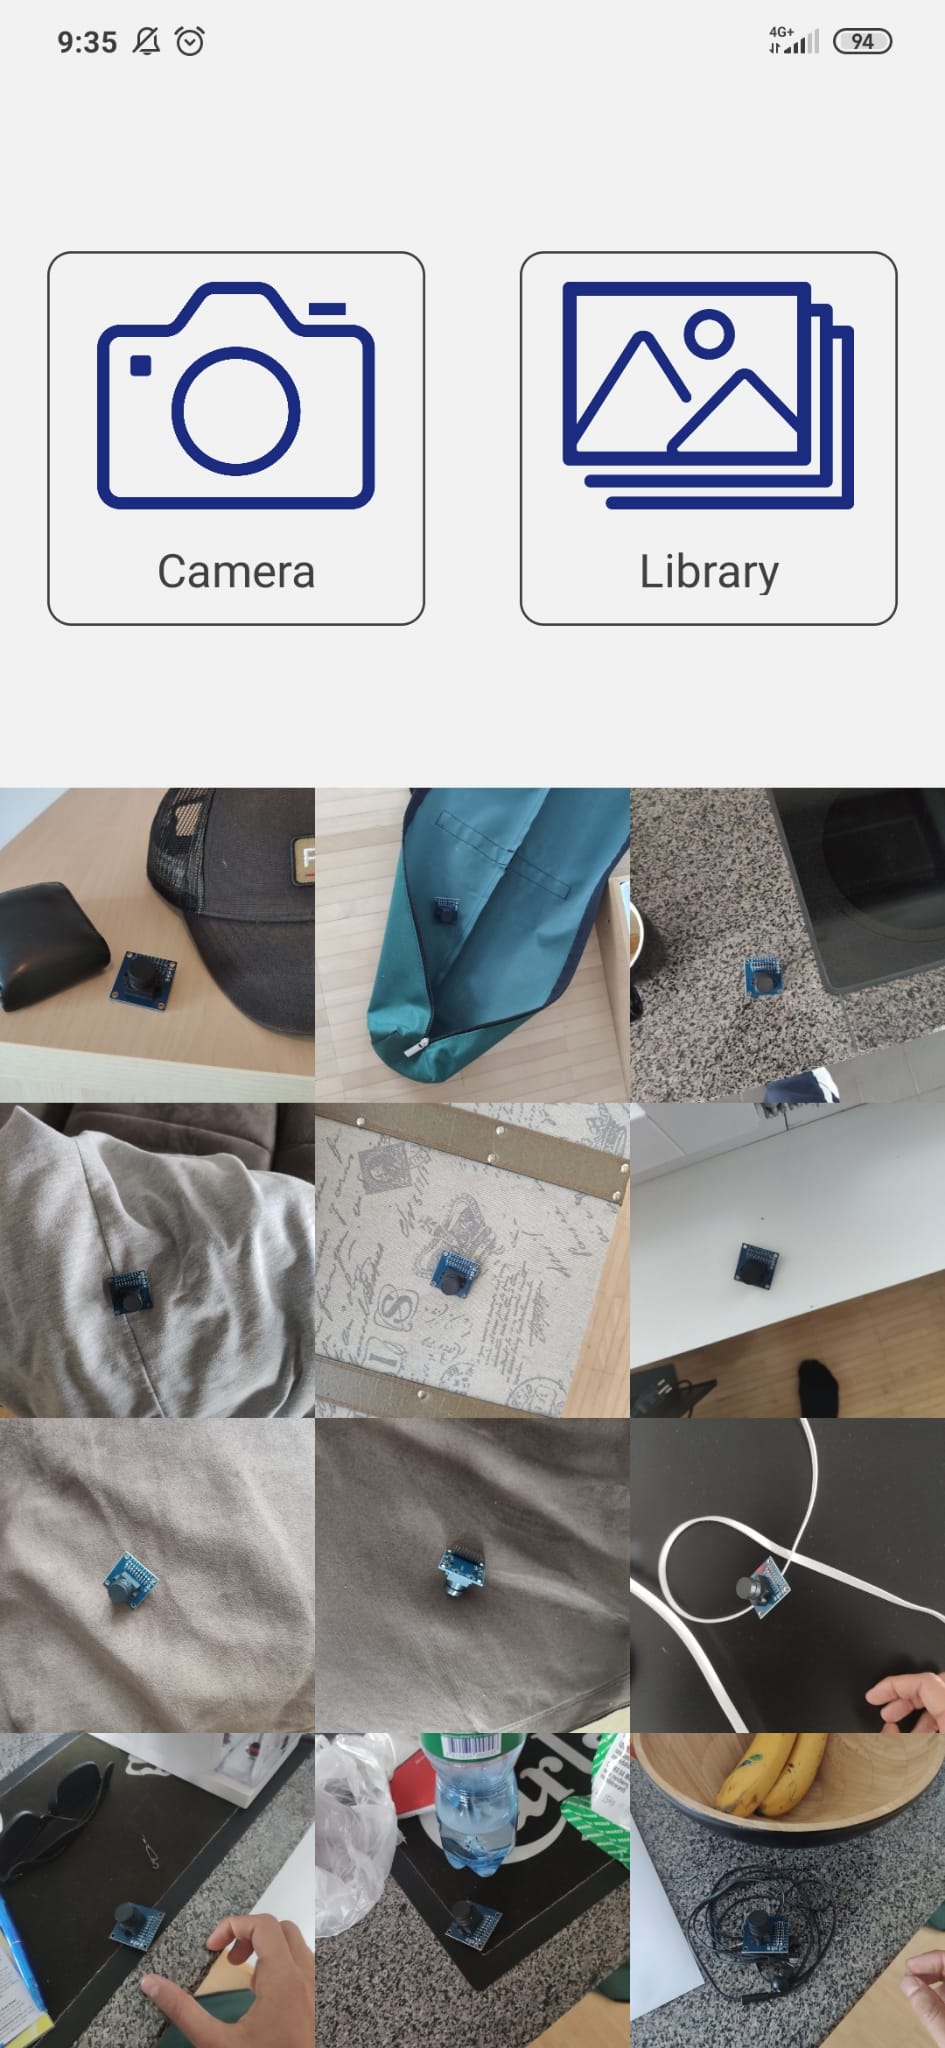
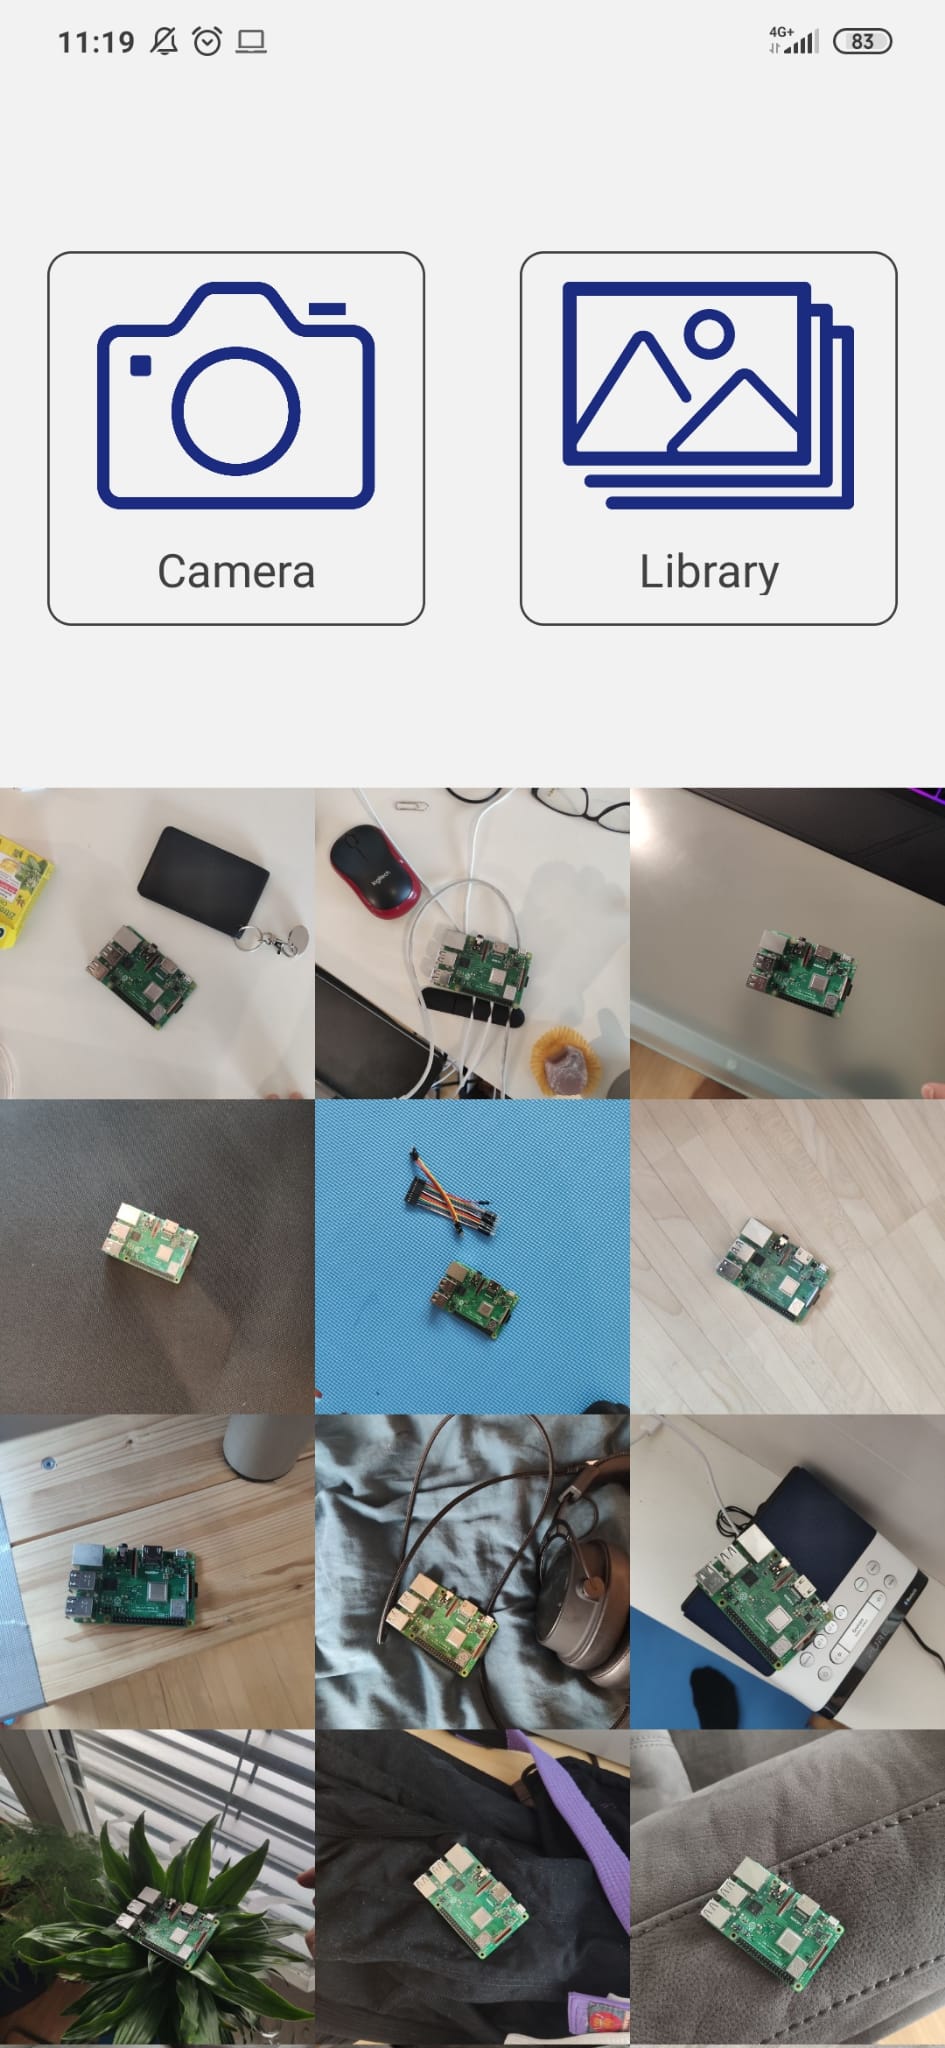
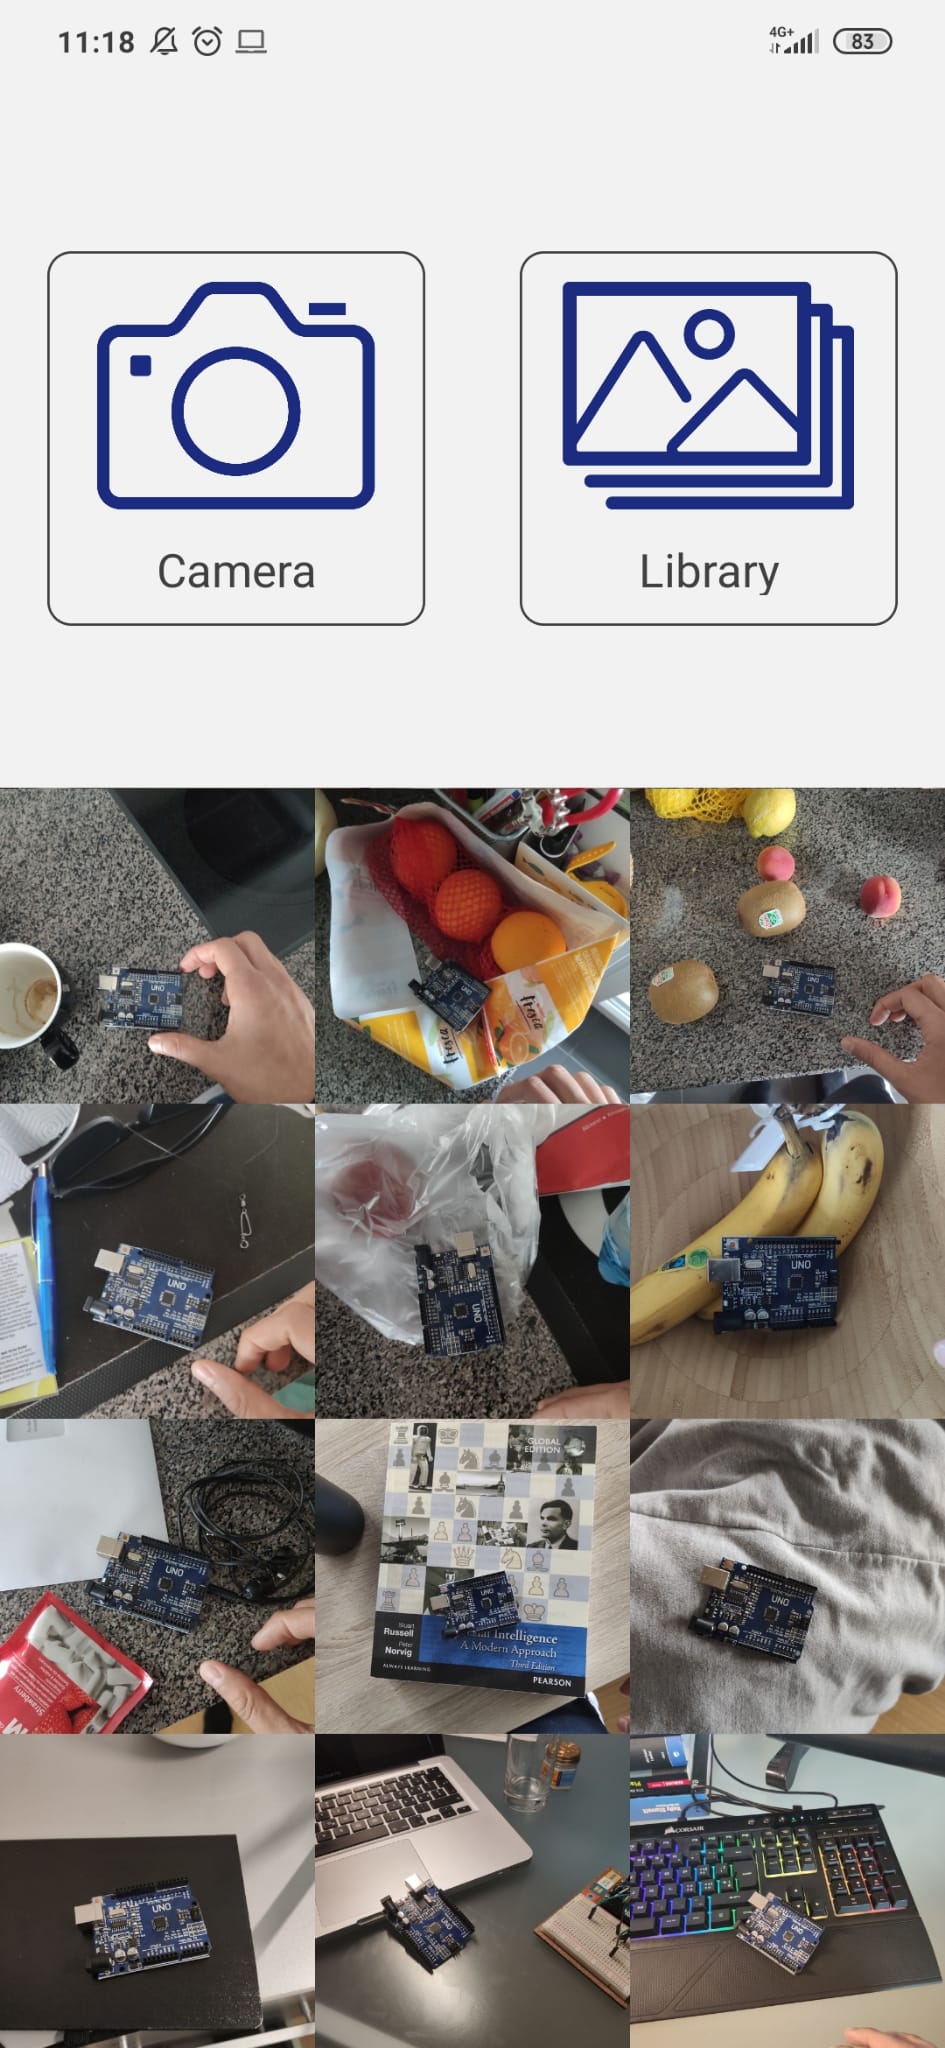
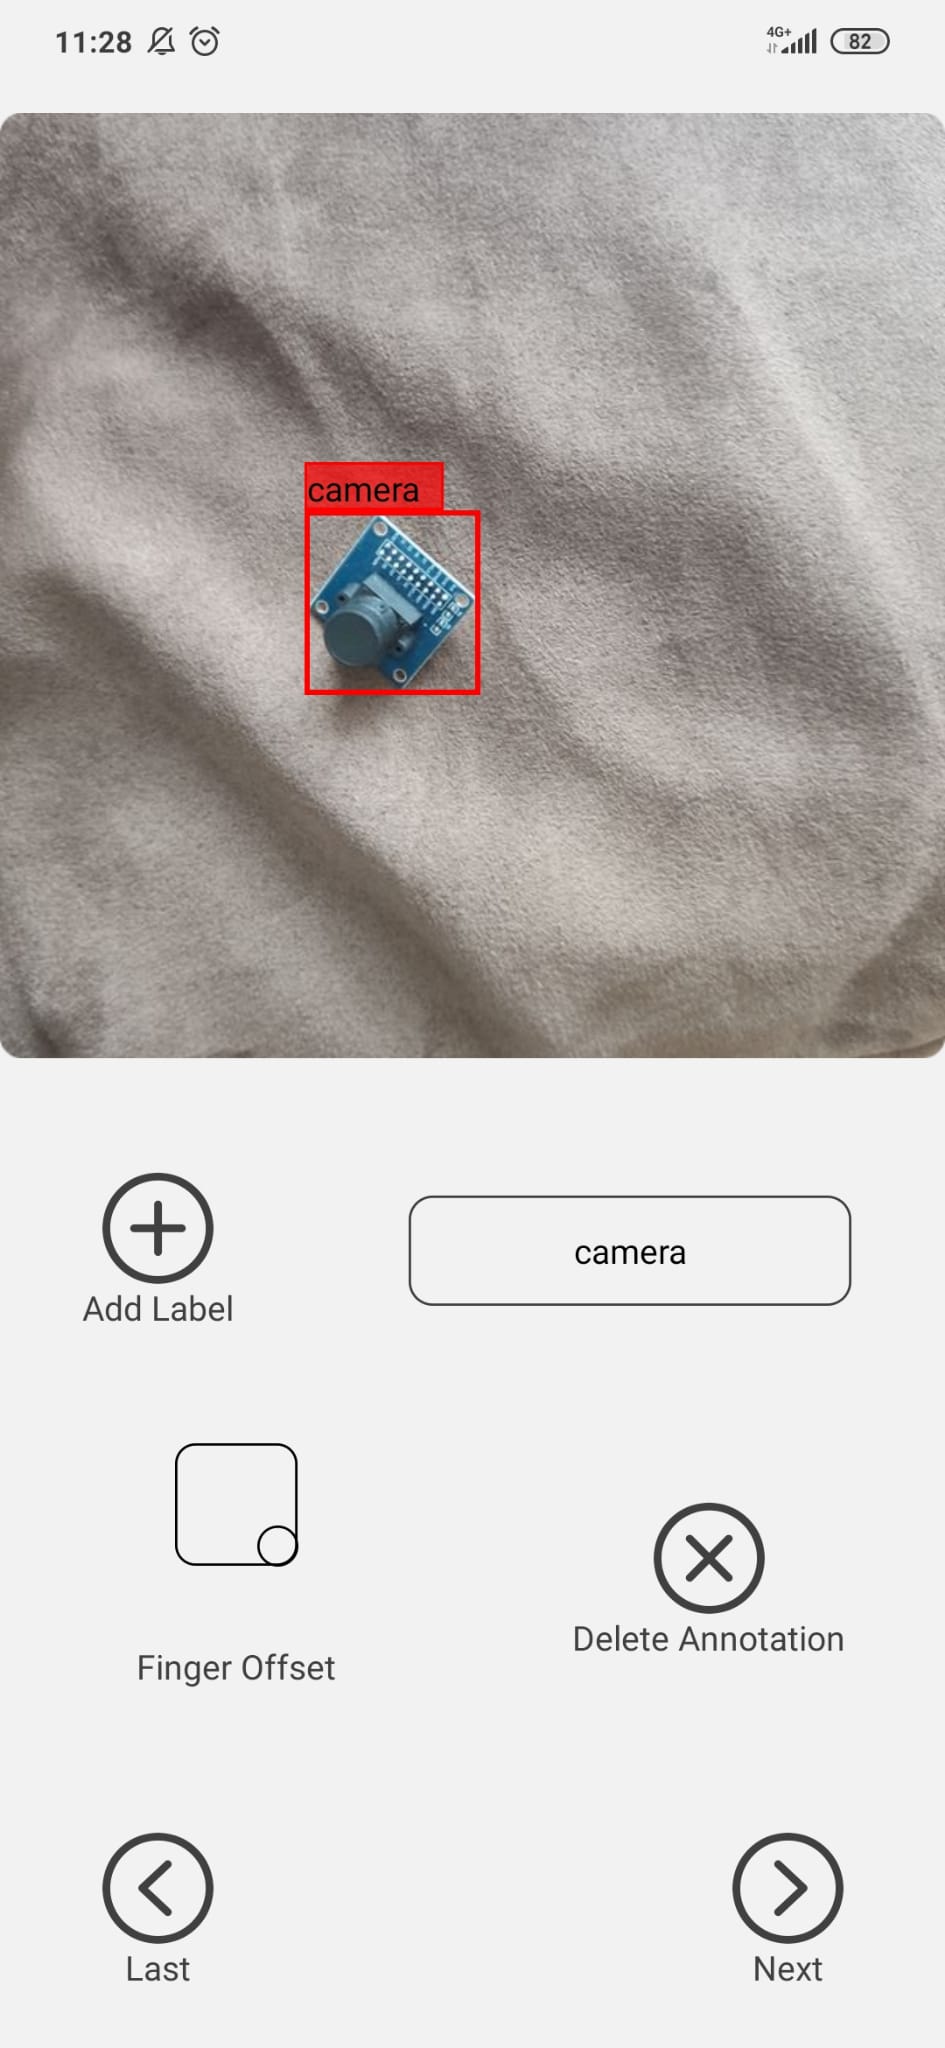
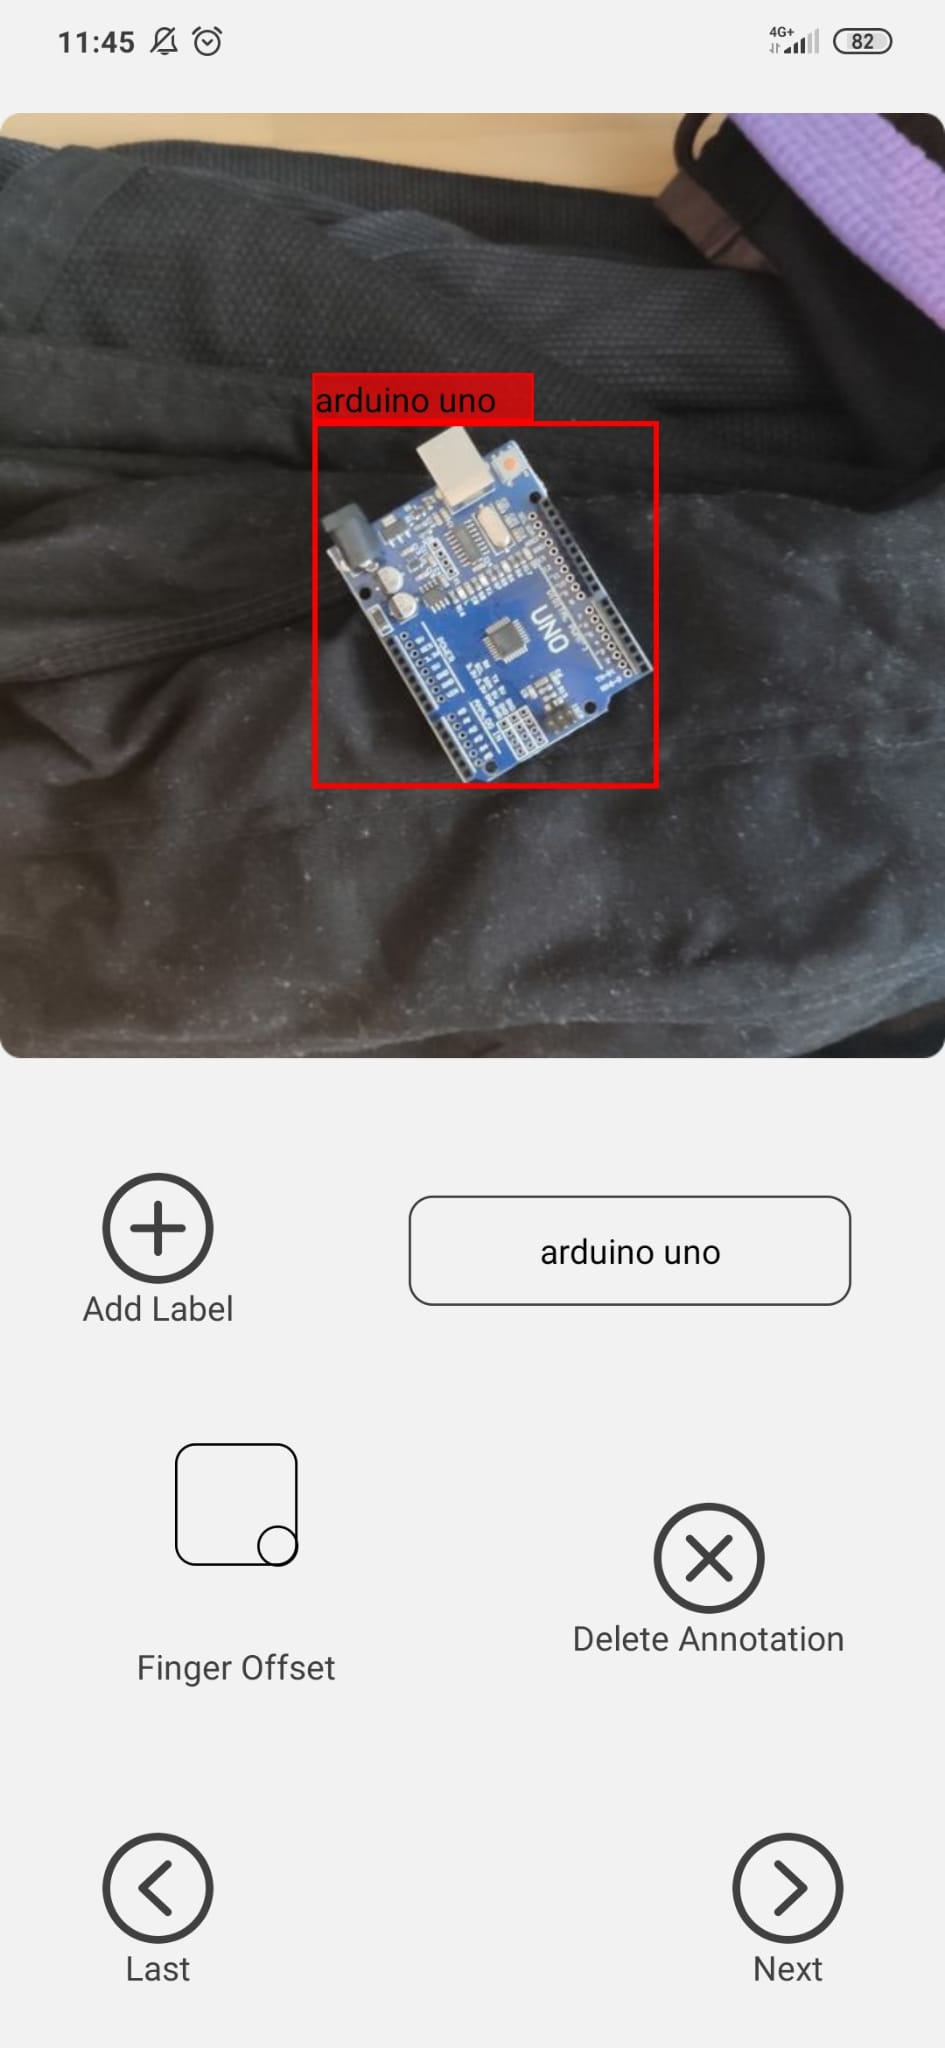
- Secondly, I am going to annotate the images. Try to draw the bounding box around the objects as close as possible. Do not make assumptions about what could be behind an object, do only annotate what you can see. Use the Finger Offset feature to your advantage for not drawing under your finger.
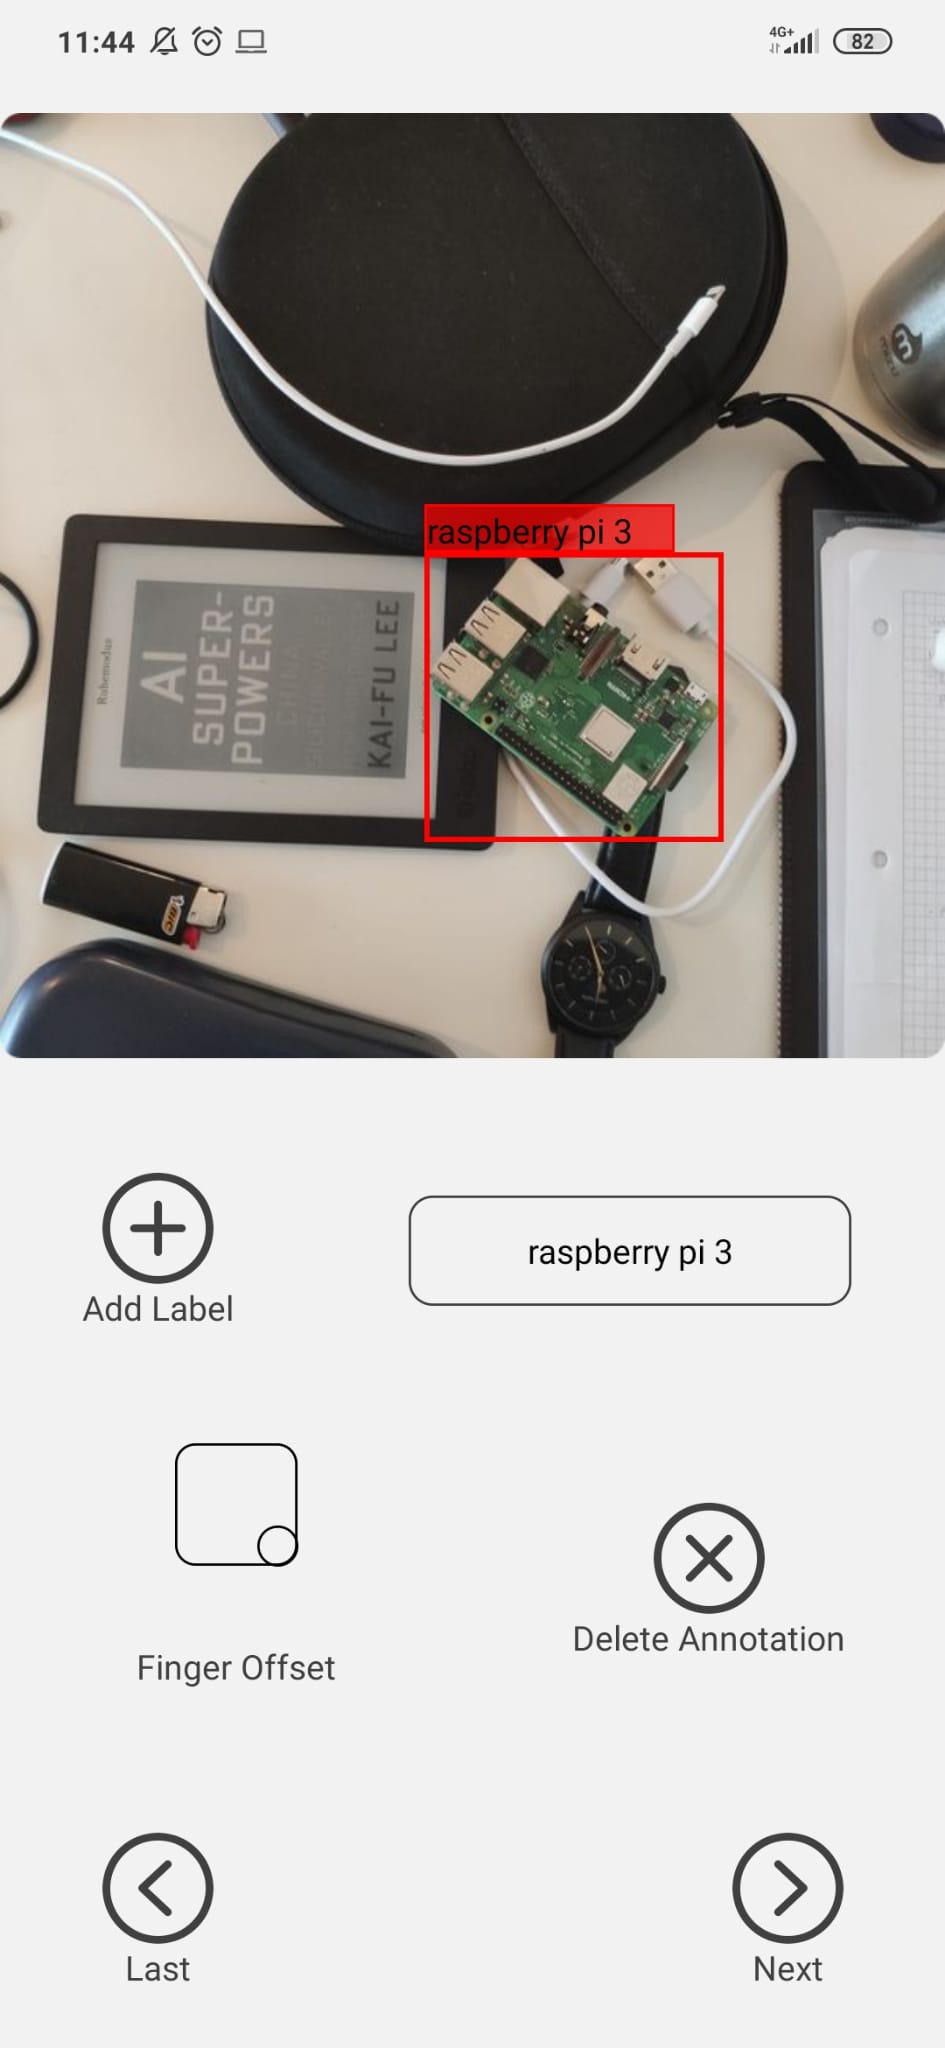
Go the dashboard (app.manthano.ai) and download the images and the annotations to your desktop.
Finish! You made it. Try to use your data within a machine learning model.
If you have any feedback on how to improve our mobile annotation tool. Leave us a feedback in the comment section. Happy coding folks.
First published on manthano.ai in 2020. What we offer has grown since; see our services for the current list.